System Shock 2
Installation and Fan Mission Guide
Version 2.01
Updated - 28th November 2014 - 'SS2Tool' Edition
System Shock 2 was built for Windows 9x systems and has a hard time running on modern computers.
This guide will help you set up the game using the latest unofficial patches and teach you how to apply mods.
You'll also learn about Fan Missions and how to play them.
Install The Game (Retail)
First of all, you'll need the System Shock 2 CD. Pirated Versions are NOT supported by this guide.
Insert the Install CD in the Drive but don't use the installer that comes with the game. Instead we are going to do something much more effecting. Browse the CD's contents and copy of the contents of the SHOCK folder from your CDs into the place where you want to install Shock 2.
Do not install into the Program Files or Program Files (x86) folders. A good place to install Shock 2 is C:\Games
Install the Game (Steam)
Download and Install Steam, a Digital Distribution platform for games. Buy System Shock 2 here and download it. Simple!
The game will be installed to "/Steam installation/steamapps/common/SS2" so it's best you go there now.
SS2Tool
Using SS2Tool to update System Shock 2
SS2Tool will do whatever you want it to do; Apply the latest version of NewDark, Install OpenAL files and activate EAX automatically, Make the game mod friendly and cleanup old unused files!
Download SS2Tool Here
You will need to have Microsoft Visual Studio 2008 SP1 C++ runtime libraries and the latest version of DirectX installed on your computer to run this new version of Shock 2. If you are not sure you have them installed, SS2Tool will check and download them for you automatically.
Now, I hate to break it to you but.. That's it! No more work needs to be done! Your copy of System Shock 2 is up and running. Of course, you can dive into the cam_ext.cfg file with Notepad and you can alter anything you want like Post-processing effects like Bloom and 16x AA for some extra added visuals.
Everything is clearly labelled inside the cam_ext.cfg file so you really cannot go wrong with configuring the file.
Some of the commands works on a Boolean system, 0 is off, 1 is on. Turn features on or off by changing the numbers. Also remember to remove any semi-colons ; in front of the command you want to enable (to disable, just re-add the semi-colon again)
Be sure to make a backup of the file first before you go altering something you might wish you hadn't.
EAX through OpenAL
SS2Tool will turn this on by default but just in case you didn't enable it, EAX will now work in Shock 2 through the OpenAL library. You can get the OpenAL files from here or from my Dropbox here.
Once you have installed them, Place them in your Shock 2 installation folder, start Shock 2 and go to Options > Audio and click on Hardware Acceleration until it shows the Option 'OpenAL'
Now when you play the game, you will have all the echoey hallways you could possibly dream of
Mods, Fan Missions and other information
How to install Mods
Mods usually come in Zip files. Inside these files you will find one or more folders. Fam, Mesh, Snd and Obj are just a few examples of what these files are called.
To install any mods, you will need to go into your Shock 2 installation folder. In here, you will see 2 important folders: DataPermMods and DataTempMods. These are the folders in which your mod files will go.
DataTempMods (DTM) is a testing folder where you can place your mod files to see if you like them or if they work. They will overwrite any mods stored in DPM that would otherwise conflict with the mod you are testing.
DataPermMods (DPM) is for any mods that you are 100% sure that you like and want to use. Put the mod files in here so you can free up the DTM folder for testing any other mods you might like.
You can keep mods in both files if you like. DTM will load ahead of DPM when playing so you don't have to overwrite any files in DPM. if the game all of a sudden stops working properly, you can delete any recently added files in DTM without affecting any of your mods installed in the DPM folder.
How to play Fan Missions
If you want to try something a little different after you've played Shock 2, you could always try one of the many Fan Missions released for the game.
You can find Thief 1/Gold missions at the Thief Missions website.
Once you have a few, you may be tempted to put them straight into your DataTempMods folder but hold on there! It's not that easy.
Long story short, Fan Missions (FMs) may not be 100% functional if you do this. Luckily, The NewDark version of Shock 2 comes with a Fan Mission loader called FMSel.
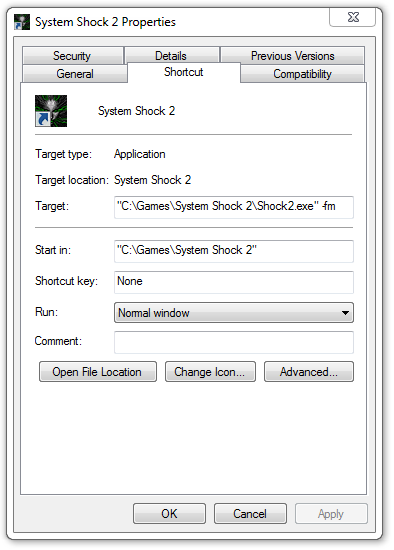
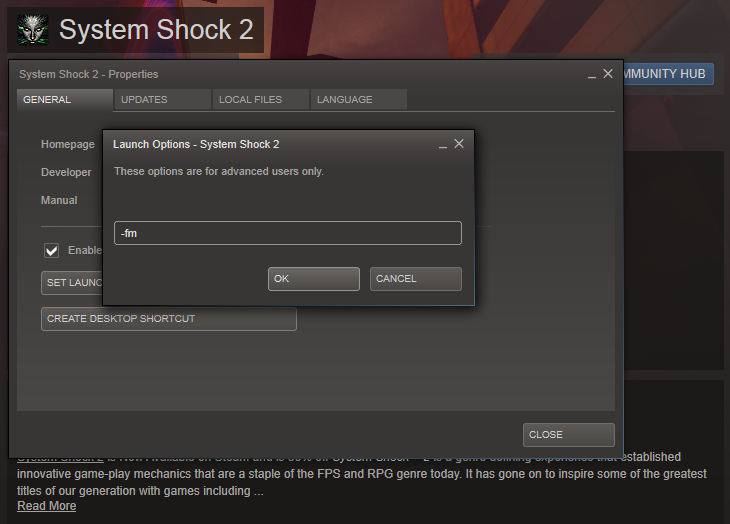
To use FMSel, Right-click on any Shock 2 shortcut or in your Steam Games list and click Properties.
Enter in the Target Box or the Set Launch Options -fm and click OK.
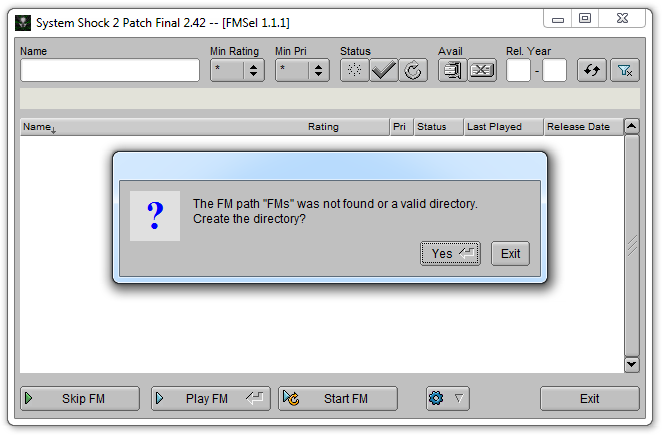
When you launch Thief 2 again, FMSel will start and ask you to create an FMs directory. Click Yes.
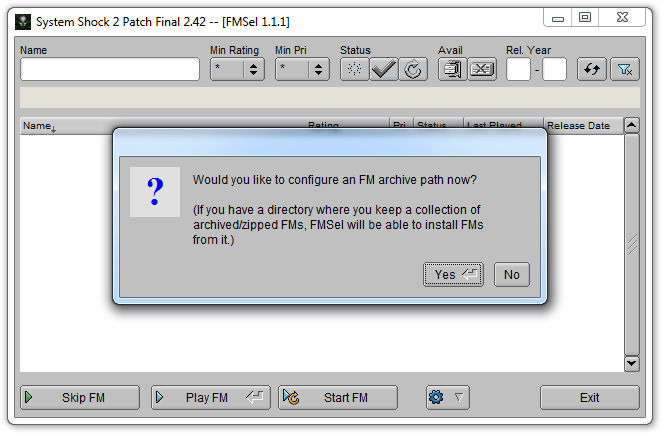
Once you've done that, FMSel will ask you to specify a folder in which you keep your FMs so put all your FMs in one folder and have FMSel use that folder.
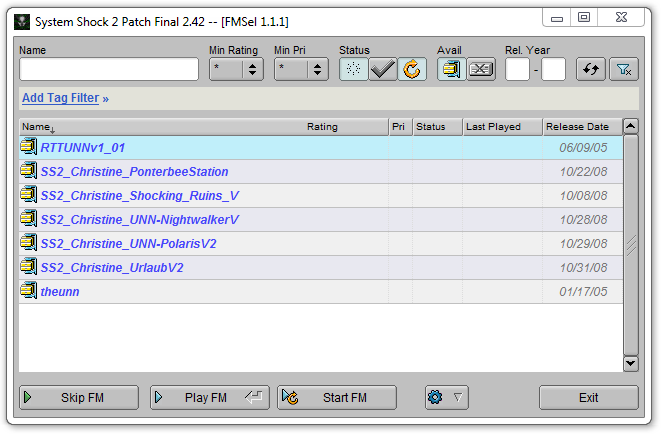
Once you've done that, FMSel will list all the FMs it finds in that folder.
From here you can do many different things:
Skip FM - Will Launch Shock 2 without using any FM.
Play FM - Will Launch Shock 2 with the currently selected FM. It will ask you to Extract Archive which, when Yes is selected, will install the FM into the FMs folder.
Start FM - Will Launch Shock 2 with the currently selected FM and set your Status to 'Playing' (I presume this is used for things like Windows Live Messenger and other software)
You can also rate your FMs, Search for an FM in the Name text bar, Read any Readmes inside (Right click > View Info File) and many other things.
Here are some questions you may have:
All my Shock 2 save files have gone! What have you done?!
Don't Panic! Your save files are still there. When Shock 2 is launched with an FM, you get to have seperate saves! These are stored in your FMs folder.
Every time you launch that FM, you'll see your saves there again from the last time you played.
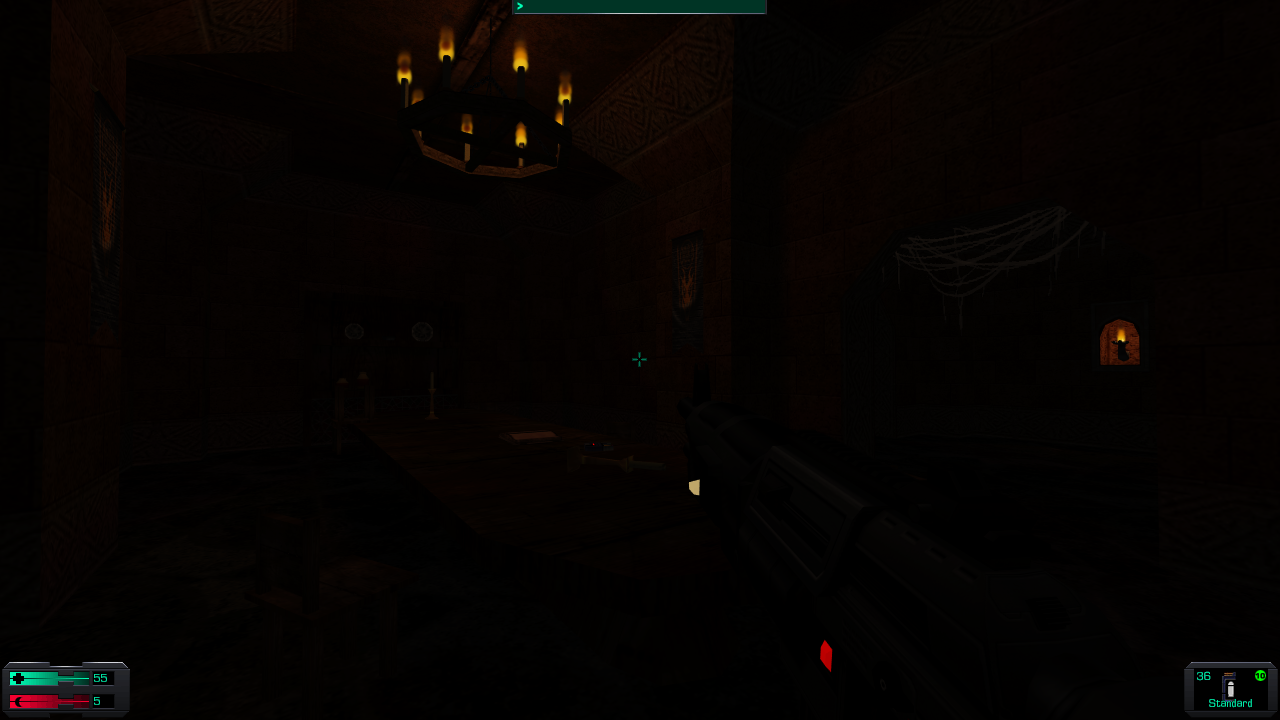
Will my installed mods work with an FM?
They should do! As you can see from the screenshot above, I'm using the Assault Rifle from the Tacticool bundle whilst playing 'Shocking Ruins'.
Can you install mods this way too?
No.
Can I play Multiplayer with any of these FMs?
That depends on the FM. Read the readme and see if it mentions Multiplayer support.
Can I hold you responsible for anything daft I do like try to install Thief 2 FMs into Shock 2?
Nope.
That's it!
OK, you should now have a fully working copy of Shock 2. It'll now be playable on Windows XP/Vista/7/8 in glorious widescreen!
Here are some pictures of the first mission in 1920 x 1080 I took after using SS2Tool.
Big props go to:
The Anonymous Taffer who created NewDark, We all salute you!
The guys and girls at Through The Looking Glass.
This guide is Copyrighted © Saleck. Feel free to print/re-post this guide anywhere but please give credit where credit is due. That's all I ask :)